VMWare Installation
Code Climate Enterprise can be installed from an OVA image.
Preparation
Prior to starting installation of CC:E, you will need:
-
The CC:E OVA Image
-
A CC:E License File (.rli)
This will be provided by our team prior to installation. If you need a CC:E license, please contact us.
-
A DNS hostname where your instance of Code Climate can be reached by your organization
Typically your hostname will look something like https://codeclimate.YOURDOMAIN.com. Your SSL certificate needs to be configured with this URL.
-
SSL certificate information
Either provide a PEM encoded cert file and .key file or use the provided self-signed certificate.
-
Your SMTP server settings
Including the type of authentication, server name and credentials
-
A Code Climate client application on GitHub (github.com or GitHub Enterprise)
Follow the steps outlined in GitHub: Creating a Code Climate GitHub Client Application. During installation you will be prompted for your GitHub Enterprise URL (if using GitHub Enterprise) as well as the Client ID and Client Secret for the application you create.
VM Requirements
- Outbound Internet access
- Inbound access (on your external interface, e.g.
eth0) to ports22(SSH),8800,80and443 - We recommend at least 16 CPU cores, 32 GB of RAM, and 250 GB of disk space be available for the Code Climate Enterprise VM.
Install VMWare vSphere Client
vSphere Client is the software used to provision new virtual machines for VMware ESXi. You can download a copy from your ESXi installation by browsing to the URL displayed on its console (typically http://private-ip-of-your-esxi-install/). You should see something like this:
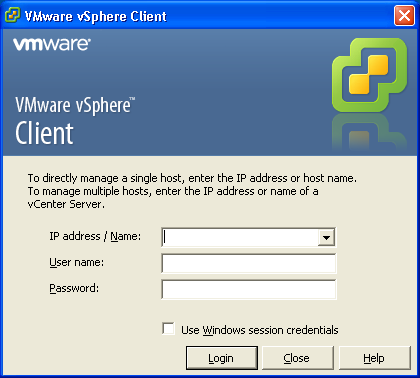
Once you have the installer downloaded, simply follow the on-screen instructions to install it (default options are fine).
Install Code Climate: Enterprise via vSphere Client
Connect to your ESXi host machine using vSphere Client by specifying the IP address of the ESXi server along with your username and password. The username will typically be "root" and the password will be whatever was assigned when the server was installed.
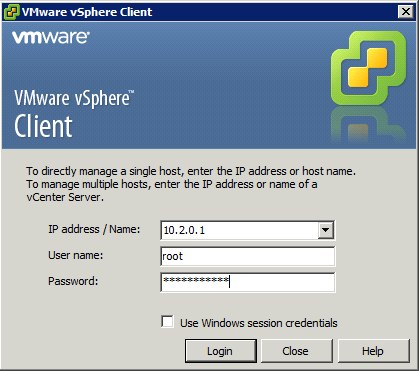
Next, begin the import process by selecting the Deploy OVF Template... option from the File menu.
You'll be presented with an import wizard; the default values will probably be sufficient in most cases. First you'll be asked to specify the source OVF template file. This is the codeclimate-enterprise-latest.ova file you downloaded earlier. If you're working offsite, it might be faster for the ESXi host machine to download the file for you, so you can enter the OVA download URL in that field and it will download the file directly.
The next page displays the template details. Click "Next" to continue to the next step.
Now you need to name the VM; you can use the default "codeclimate-enterprise-{{timestamp}}" if you like: the timestamp at the end identifies when the OVA was generated. It's generally a good idea to change it in a way that helps identify when it was set up (e.g. "Code Climate: Enterprise (2016-04-08)").
Next, you'll choose which datastore you want the base image loaded onto and whether you want it provisioned thick or thin. We recommend using thick provisioning with lazy zeroing.
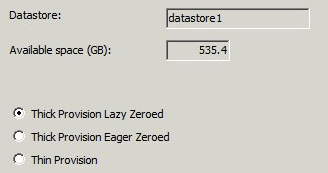
Now, map the VM to the correct local network. Most installations will only have one visible network to choose from. If you have more than one and are unsure which to choose, find a System Administrator to advise you which to use.
Lastly, you're taken to a summary page that details all the settings you've chosen and gives you the option to power on the VM after you've deployed it. You can now power on the VM.
Generally, while getting things setup it's a good idea to take a snapshot of your VM immediately after you finish importing so you have a base point to revert to later without having to re-import. You'll want to delete that snapshot once the VM actually starts being used regularly.
Hardening your CC:E VM
The CC:E VM has a default Linux user with key-based SSH access & sudo permissions for administrative purposes. Because this user has common login credentials for fresh OVA installs, we strongly recommend that all users take the following steps to harden their CC:E instance immediately after booting a new VM.
- Login using vSphere's console, with the username
cc-userand passwordcodeclimate. - Change
cc-user's password by runningpasswd. - If you wish to be able to ssh into the VM, copy the SSH public key you want to use into the
/home/cc-user/.ssh/authorized_keysfile on your CC:E instance.
Networking Configuration
The CC:E VM will attempt to use DCHP to configure its network connection when it boots. Some VMWare users, however, may need to configure static IP information. Detailed documentation is available from Ubuntu's site.
Static IP configuration
If you configured a static IP similar to above, there is an extra step you will need to complete after you enter your license later in this setup process.
Access the Code Climate Enterprise Management Interface
The management interface should now be available at your DNS address or configured IP, on port 8800, over the HTTPs protocol.
You can proceed past the HTTPs connection security warning which will be presented. CC:E uses a self-signed certificate initially.
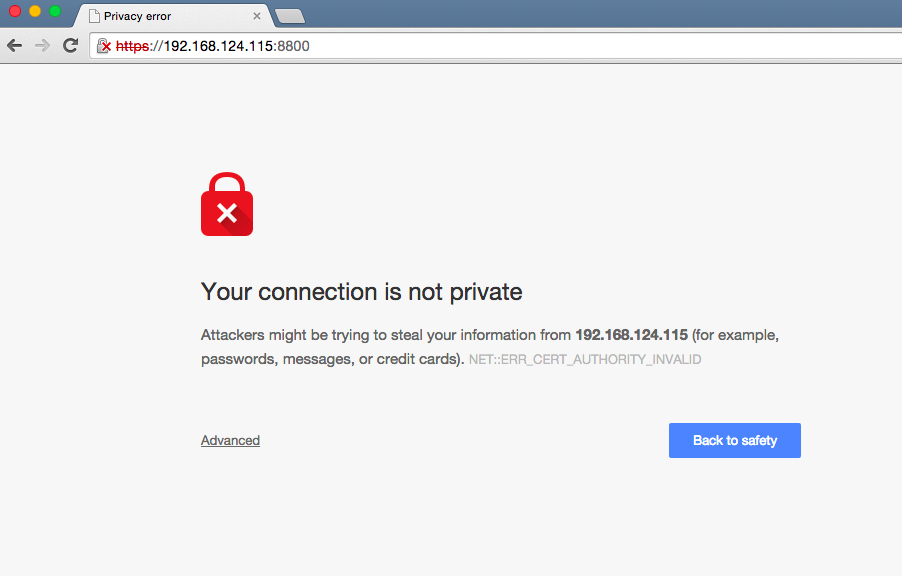
Example on Google Chrome of a security warning you will see as a result of using a self-signed certificate.
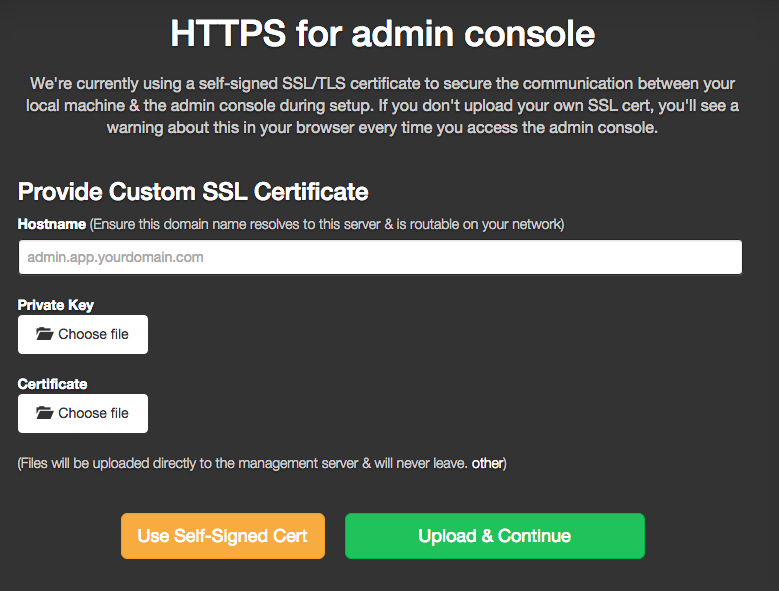
Provide a hostname and SSL keypair
Upload a custom TLS/SSL cert/key (PEM encoded) or proceed with the provided self-signed pair.
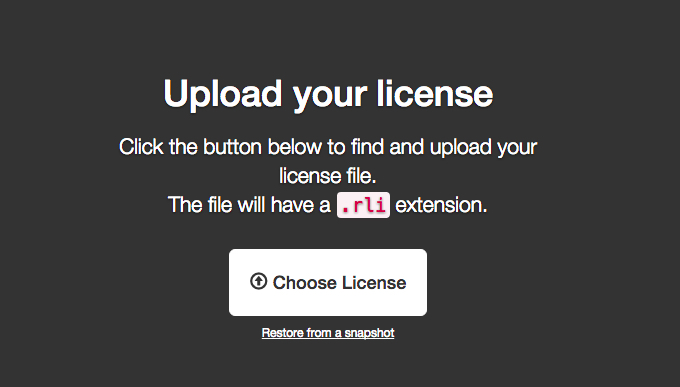
Upload your Code Climate Enterprise license
A license file will be provided by a Code Climate representative prior to installation.
Activate your license
Check your email for your license activation code and enter it into the provided box.

Example email with activation code
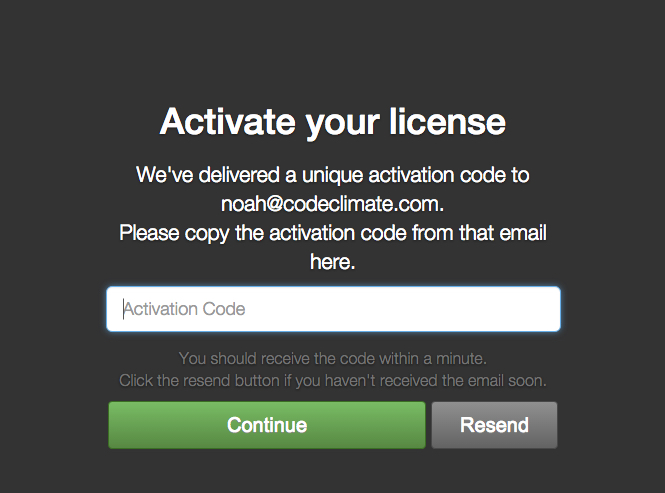
Provide your activation code here.
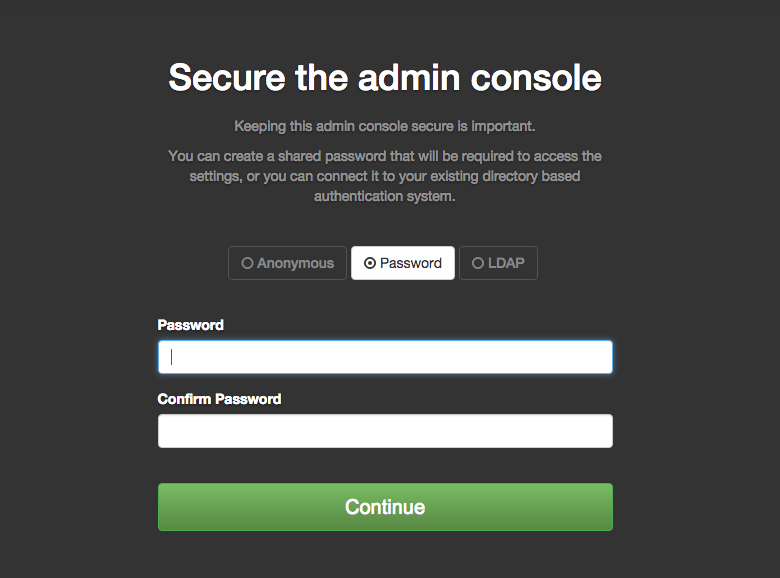
Secure the Code Climate Management Console
Provide a password or connect to your LDAP server
Configure your Code Climate Enterprise Host Address
This step should only be necessary if you configured a static IP for your VM by editing /etc/network/interfaces earlier. If you did not configure a static IP, you can skip ahead to Configure your Code Climate Enterprise instance.
Go to the "Hosts" tab in the

Click the blue button next to the IP addresses, and enter the appropriate private & public IP for the CC:E VM based on what you configured earlier.
Then, from a terminal on the VM, run sudo service replicated restart.
In less common circumstances, there may not be a host listed at all here: if that occurs, you should create a new one. Select the "locally" option and enter the appropriate network interface.
Configure your Code Climate Enterprise instance
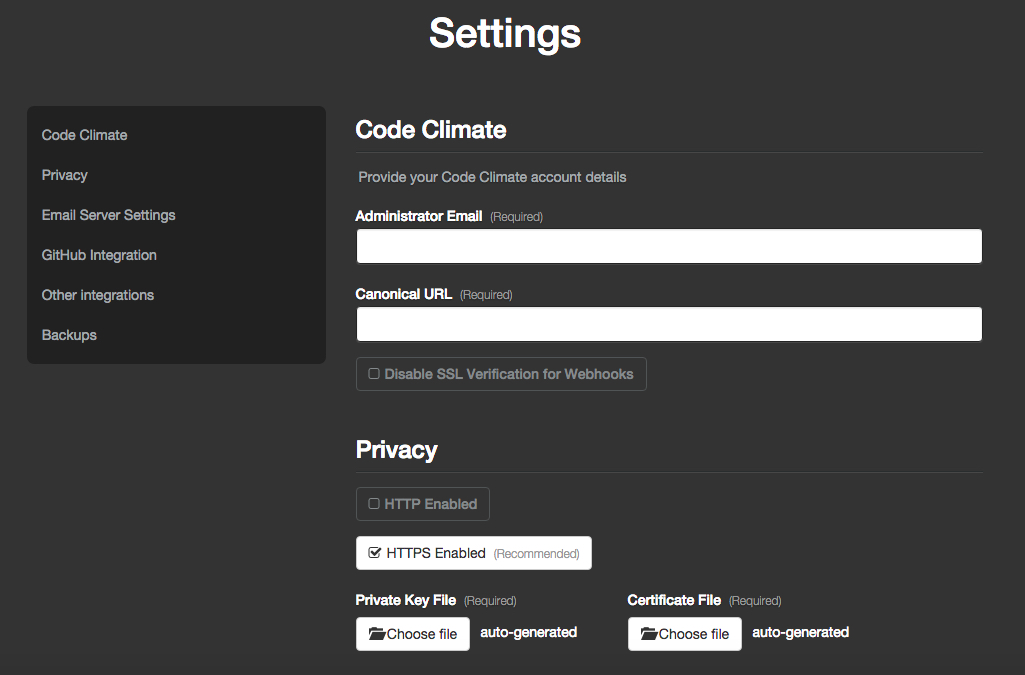
Next you'll be presented with a variety of Code Climate Enterprise settings, such as SMTP credentials and GitHub integration information. Provide the information requested and click "Save" to continue.
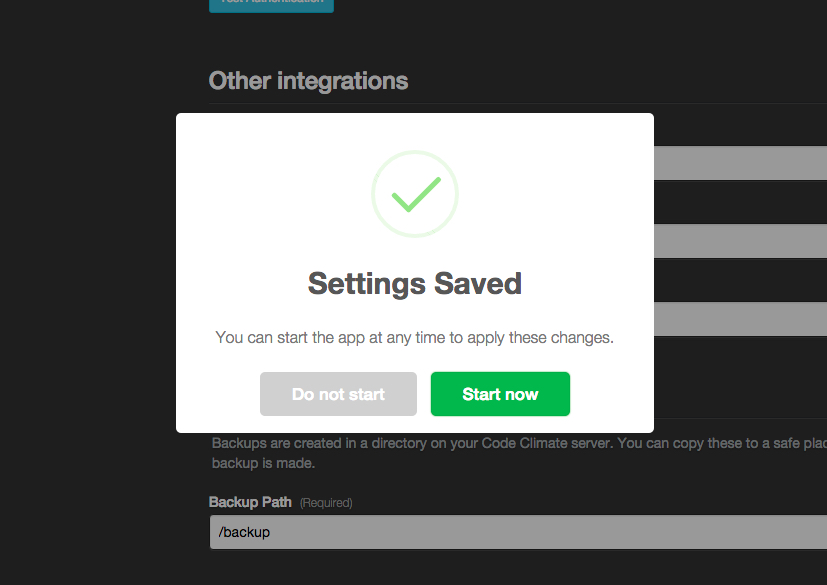
Click "Start now" to boot Code Climate Enterprise.
Boot Code Climate Enterprise
Click "Start now" to boot Code Climate Enterprise. You will be taken to the dashboard of the Code Climate Management Interface while the instance boots up.
This boot process involves the VM fetching Docker images for all of Code Climate's services, and can take some time.

Initial Installs & Upgrades
Initial installs & upgrades can spend 30 minutes or more in the Starting and Queued states, as this is when all of the new or upgraded Code Climate services used for analysis are populated in the system.
Open Code Climate Enterprise
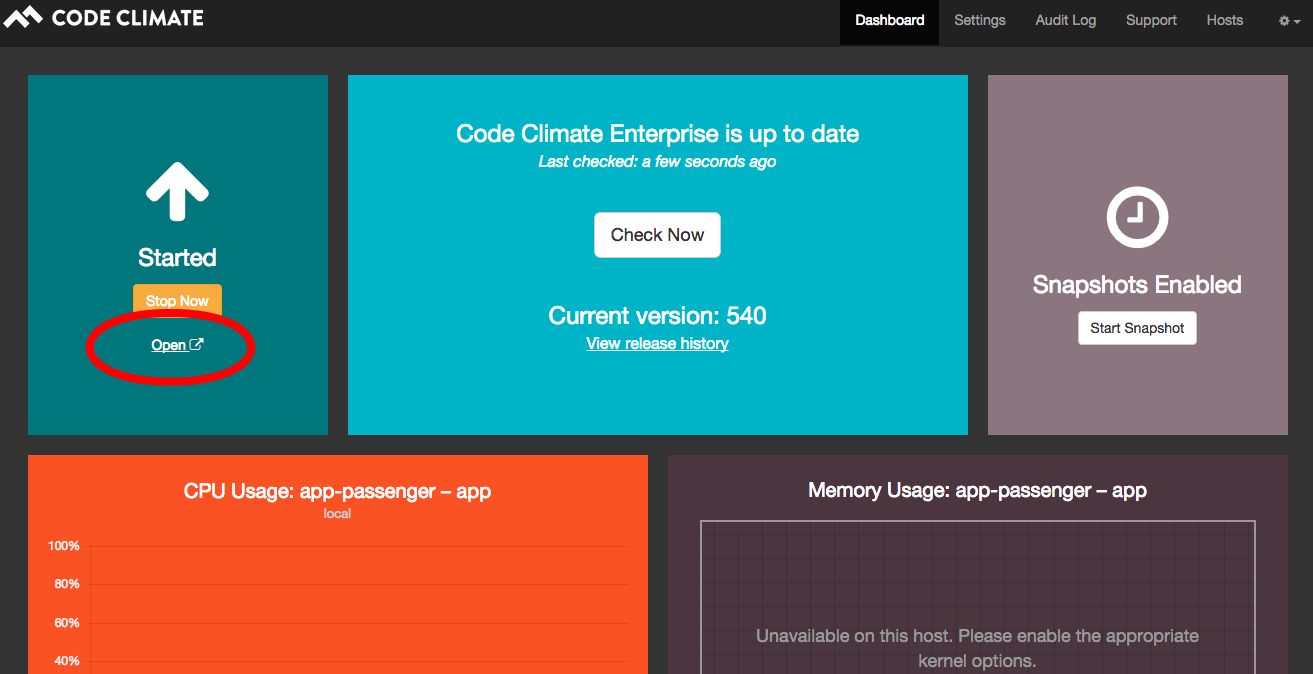
Once the instance has finished booting, an "open" link will appear on the far left side. Click "open" to launch Code Climate Enterprise in a new browser window.
First page load
Because the application isn't fully booted yet, the first page load of Code Climate Enterprise typically takes a few seconds. This is completely normal, be patient!
Log In As Administrator
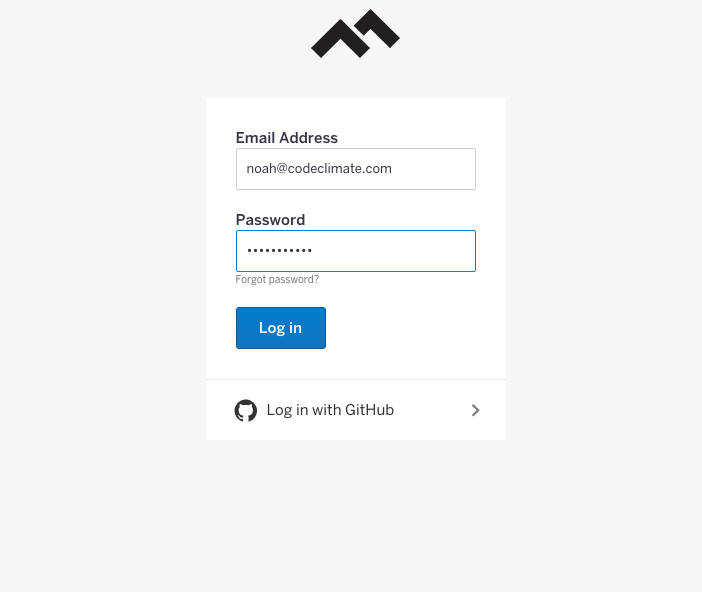
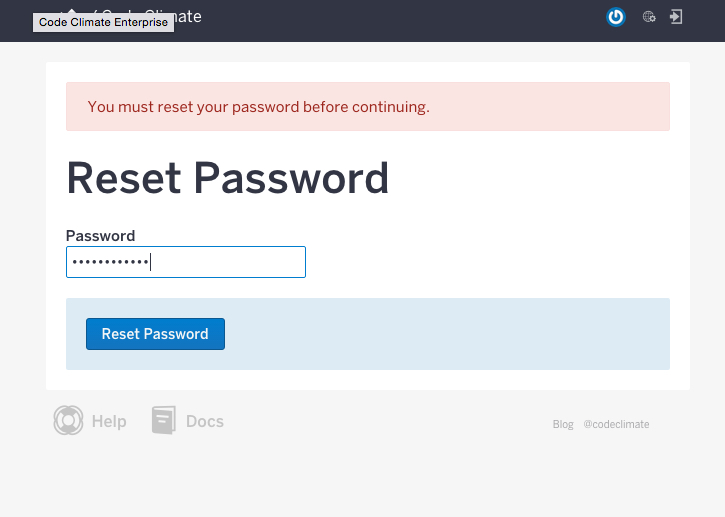
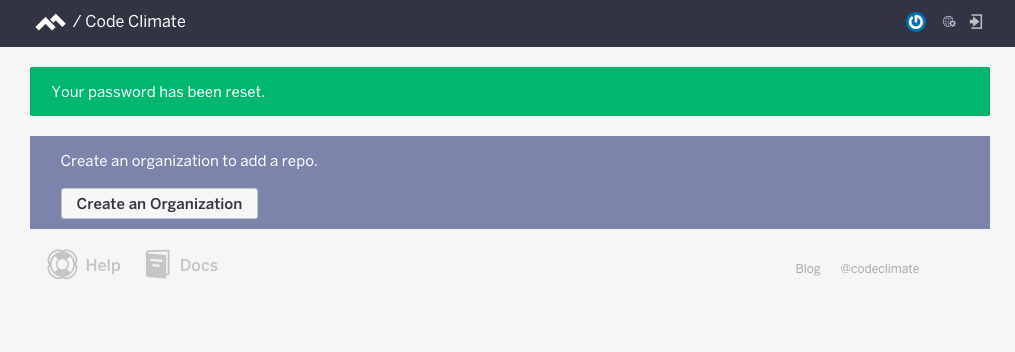
Log in with the email address you provided as the Administrator Email during setup. The password will be codeclimate. You will be prompted to change it when logging in.

Updated less than a minute ago
